Aluminum Air Compressor Connecting Rod Repair
Posted: Wed Oct 13, 2010 2:42 pm
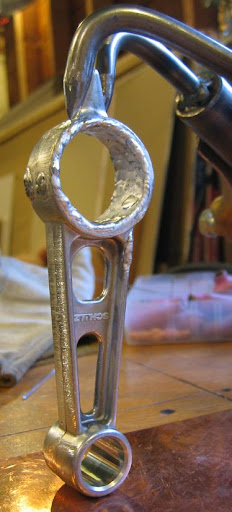
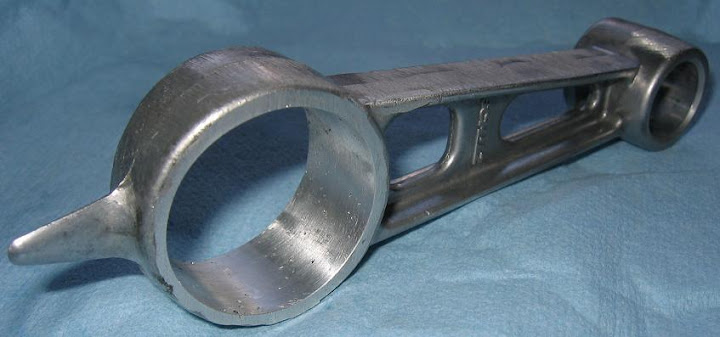
A customer brought in a damaged connecting rod from a Hitachi "wheelbarrow" style air compressor. It had a badly gauled up big end ID, and there was a crack all the way though the wall of the big end. Looked like it was run with the dipper starved of oil (I'm betting from either being run with a low oil level, or an excessive "tilt" angle.)
A new connecting rod on one of these apparently costs a *lot* more than you'd probably guess, and since there was a "AL recycle" symbol cast into it, I decided might as well take a go at a repair.
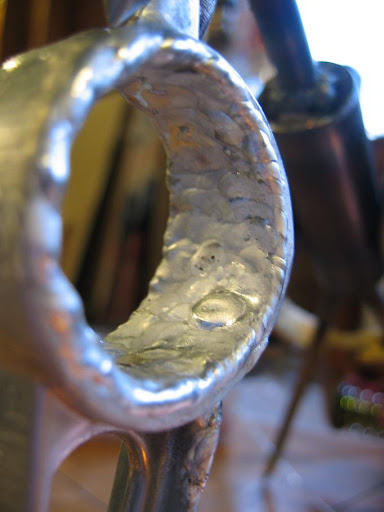
I vee'ed out the outside of the crack with a carbide burr, and found it welded decently. I then reamed out the galled material from the ID of the big end, and built the material back up using 4043 filler; TIG welded using an Everlast Super200P. I did the build up first around the edges with my usual "focused arc" settings. Then I filled in the middle areas, trying a "balanced arc" / 50% balance / DCEN setting (which was kind of fun, because of the mellower noise it made and also how it "wetted" the surfaces out nicely beyond the actual molten puddle.)


After the welding operations were performed, I used a hand reamer to open up the big end to about .008" under final diameter, and honed it the rest of the way using a 240 & 400 grit flapper stick. This left a nice, smooth finish, cleaning up the visible honing chatter marks. Ended up with about .002" clearance.

I did get a little bit of porosity in the welding operations, probably from contaminants inside the material (maybe from not reaming the galled material completely out), however I think those little voids might actually prove to be helpful little oil reservoirs.
A new connecting rod on one of these apparently costs a *lot* more than you'd probably guess, and since there was a "AL recycle" symbol cast into it, I decided might as well take a go at a repair.
I vee'ed out the outside of the crack with a carbide burr, and found it welded decently. I then reamed out the galled material from the ID of the big end, and built the material back up using 4043 filler; TIG welded using an Everlast Super200P. I did the build up first around the edges with my usual "focused arc" settings. Then I filled in the middle areas, trying a "balanced arc" / 50% balance / DCEN setting (which was kind of fun, because of the mellower noise it made and also how it "wetted" the surfaces out nicely beyond the actual molten puddle.)
After the welding operations were performed, I used a hand reamer to open up the big end to about .008" under final diameter, and honed it the rest of the way using a 240 & 400 grit flapper stick. This left a nice, smooth finish, cleaning up the visible honing chatter marks. Ended up with about .002" clearance.
I did get a little bit of porosity in the welding operations, probably from contaminants inside the material (maybe from not reaming the galled material completely out), however I think those little voids might actually prove to be helpful little oil reservoirs.