What welding projects are you working on? Are you proud of something you built?
How about posting some pics so other welders can get some ideas?
Post Reply
User avatar
  • Posts:
  • Joined:
    Sat Jun 06, 2015 3:41 pm
  • Location:
    Norway, in a shipyard

Hello everyone, I*m fairly new here, so a short introduction is in place I think!
First off, English is not my main language, but i'll do my best!

I'm 22 years old, live in Norway and just got my certificate of completed apprenticeship? as a pipefitter (2 years in school and 2 years in work)

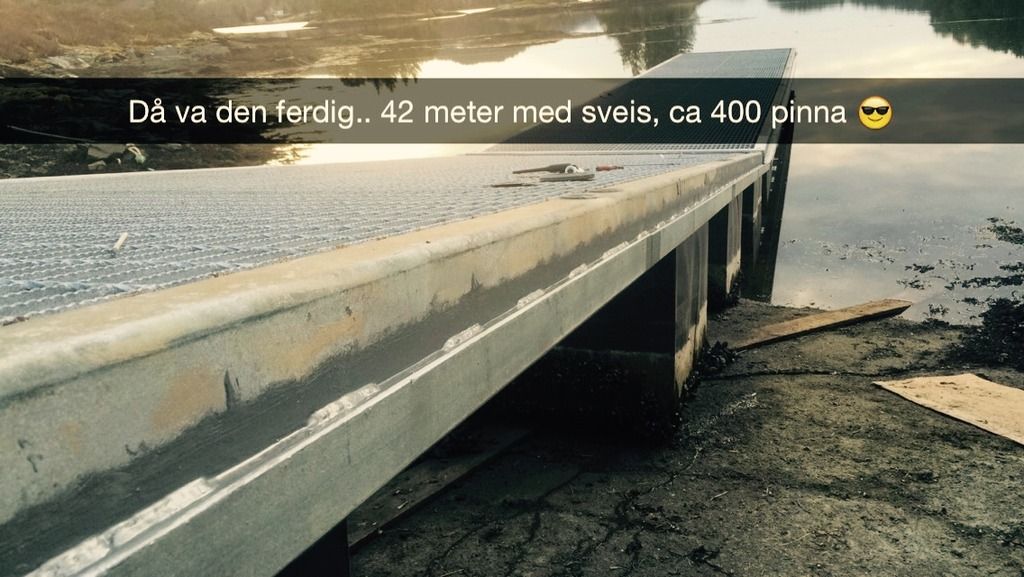
Anyhow, this project started with replacing an old wooden pier with a longer, more solid steel pier (Galvanized).

So i had to weld 42 meters of T-bars on the sides, so that we could adjust the spacers for the boats

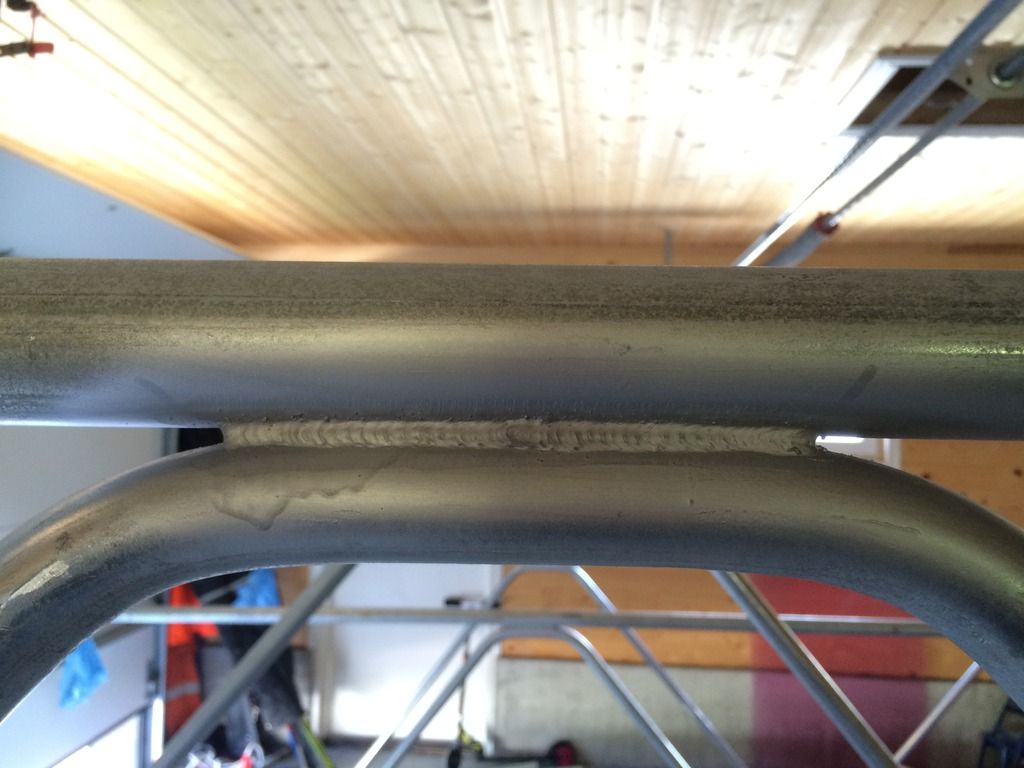
About 10cm of weld on top and underneath, NST 7016s 2,5 elektrodes, used about 400 all togheter. I should have gone for 3,2 electrodes :lol: Many hours spent on welding and grinding
Image

Image

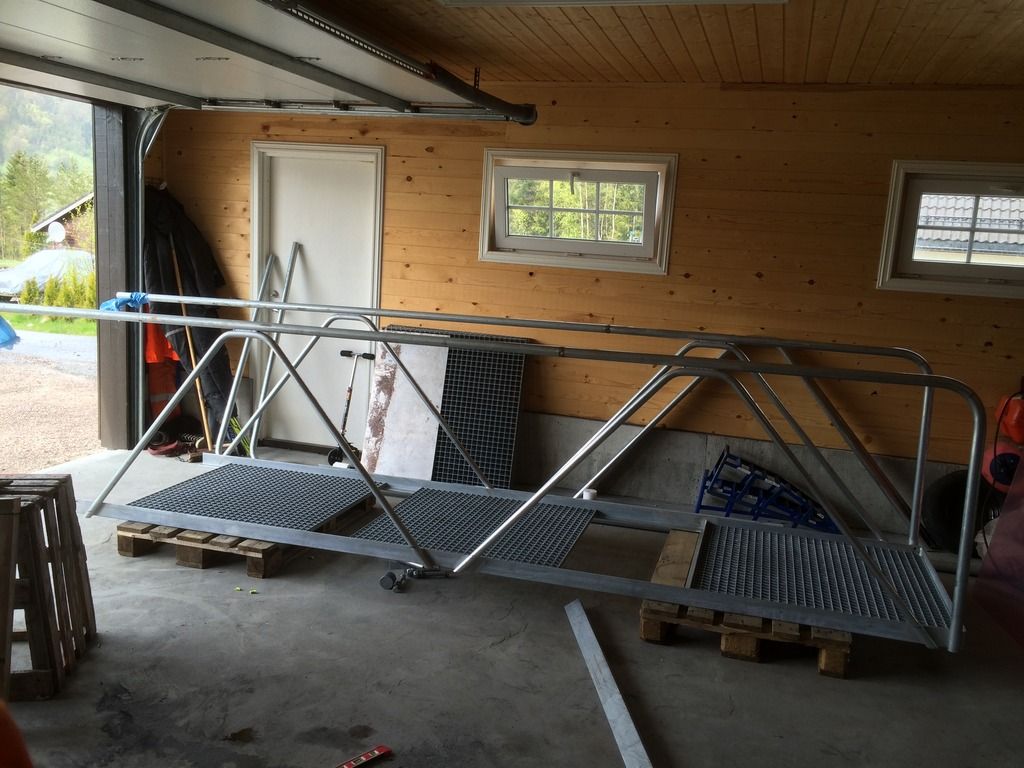
Meanwhile, we were looking for a aluminium gangway, but it costs around 2000$ - 3000$ , so i decided to make one for alot less, but with galvanized steel.
I used a gangway made by professionals as a starting point considering steel thickness and style. Mine was 2 meters longer so i added some millimeters on the frame and pipes. I used google sketchup to draw and figure out some measurments. I ordered all the material through my workplace, the cost was about 1000$.

Galvanized pipe 33,7 x 3,2 - 24 meter and 42,4 x 4,5 - 24 meter
Angle iron 75 x 50 x 8 - 18 meter
T-bars 50 x 50 x 6 - 6 meter

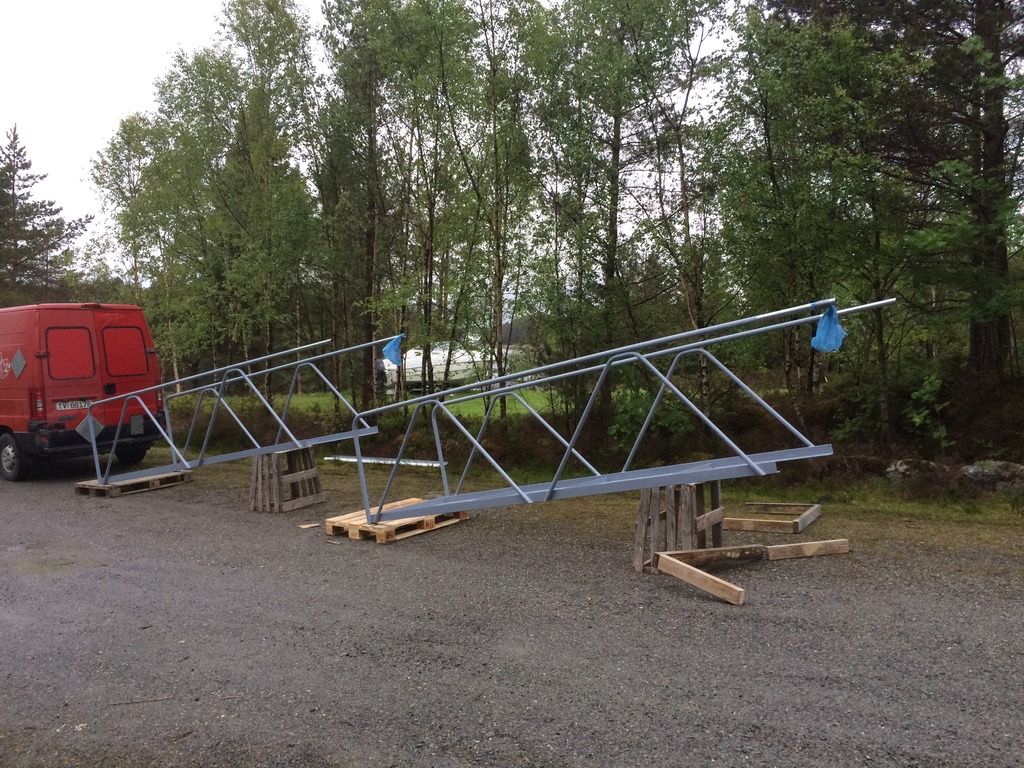
It's 8 meters long, and I decided to make two parts of 4 meters, so that the transportation when it was finished would go smoother.
Image

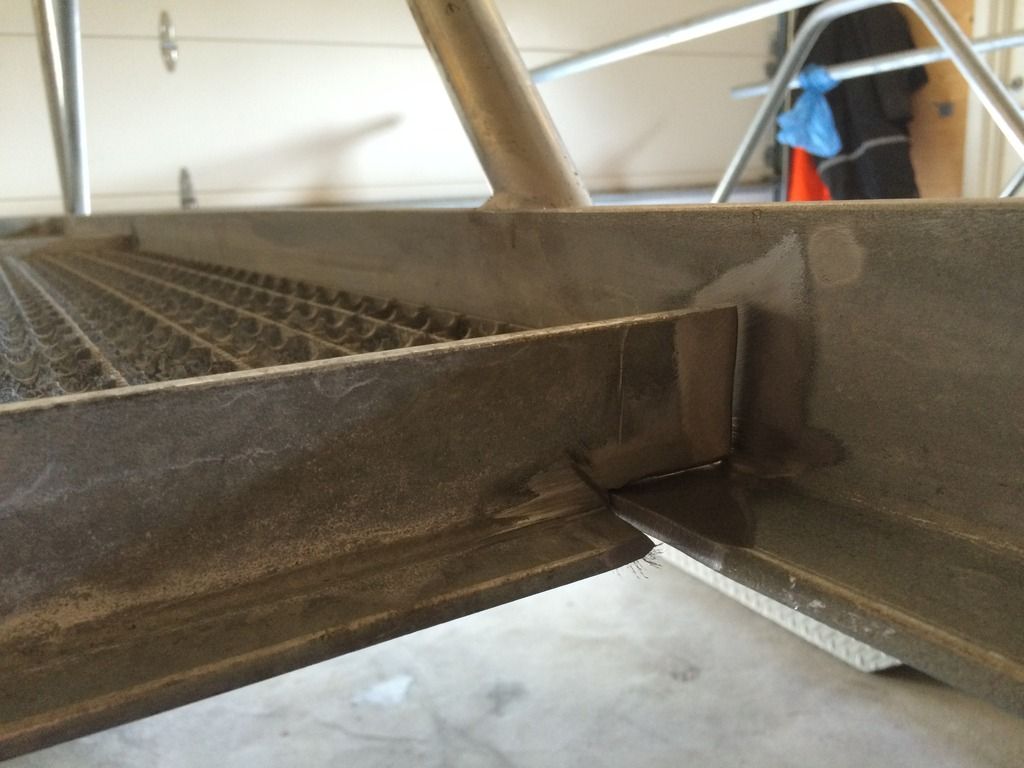
T-bars, One on each meter, making the frame less spaghetti, and works as "slots" for the gratings
Image

MIG welded the top and side railing
Image

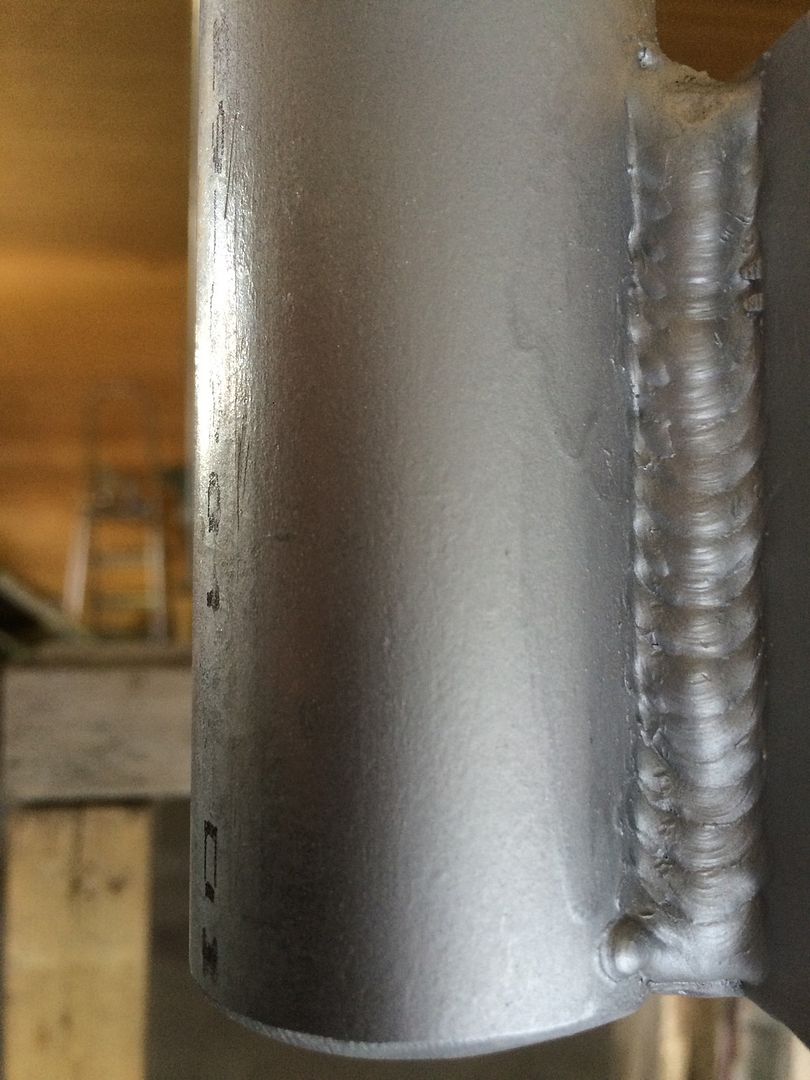
MIG welded railing to the frame, one pass downhill and the last one uphill
Image

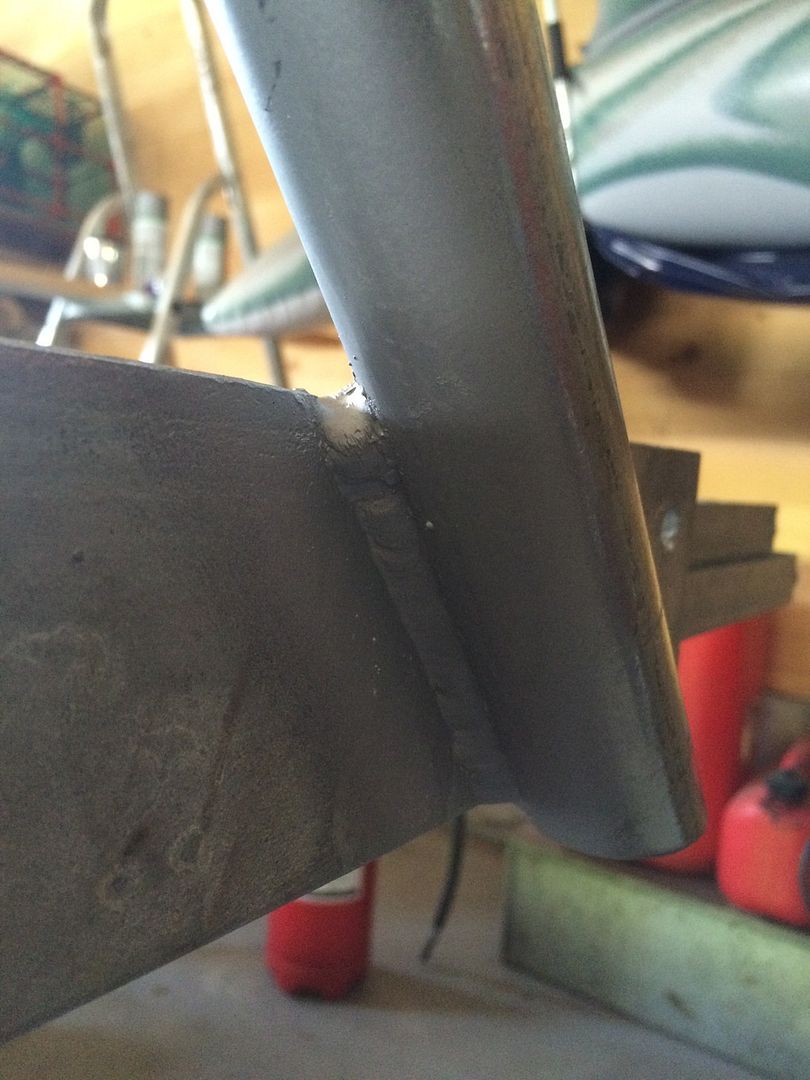
Some uphill stick welding, with a downhill mig first
Image

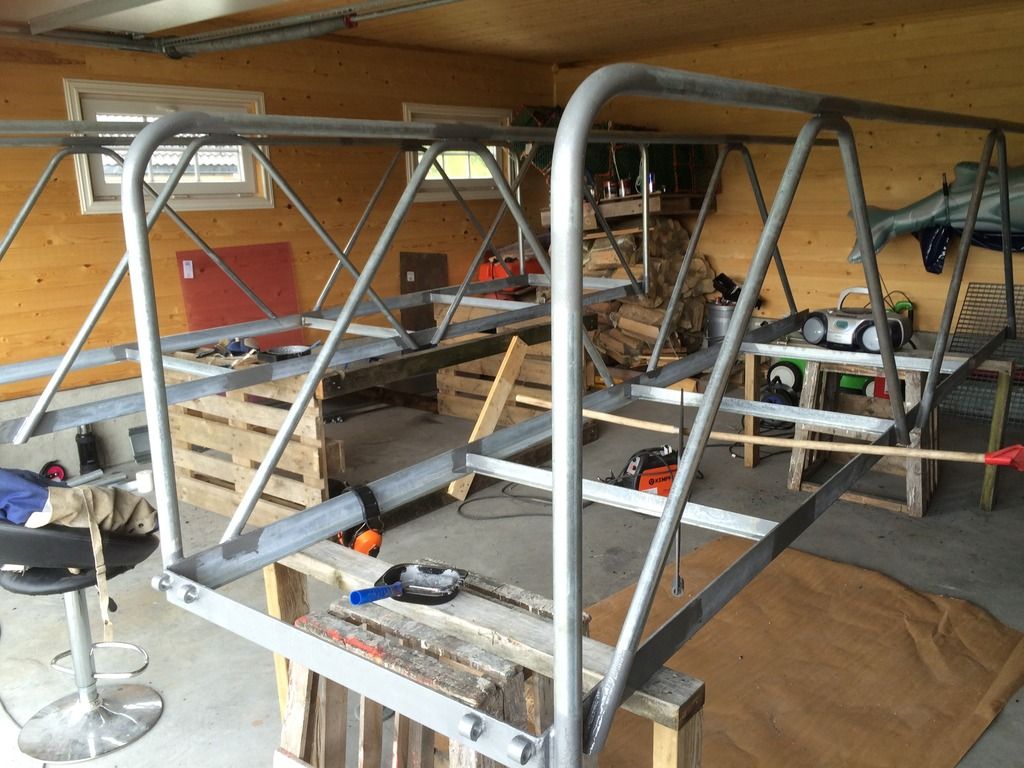
All the welds were cold galvanized shortly after welding, and later on we used some heave duty shipyard painting on all the welds. Everything were painted 1 stroke afterwards,
Image

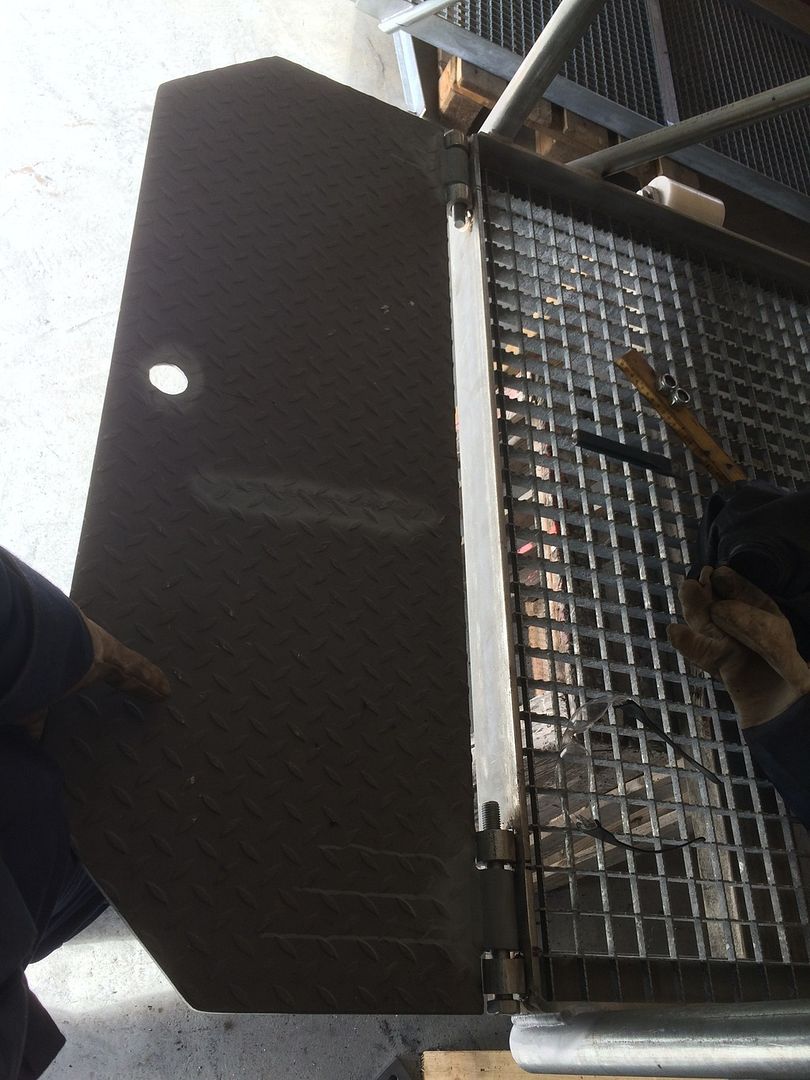
Plate to be fitted on land, and ofcourse we painted it.....
Image

Transportation went smooth, both fitted in one car.
Image

Feel free to comment, anything! And i will post more when it's all done!
User avatar
  • Posts:
  • Joined:
    Sun Sep 22, 2013 10:14 am
  • Location:
    Minneapolis Mn 55407

Talent,planning
Good on you
Your written English is better than my spoken American
Everlast 250EX
Miller 250 syncrowave
Sharp LMV Vertical Mill
Takisawa TSL-800-D Lathe
Coupla Bandsaws,Grinders,surface grinder,tool/cutter grinder
and more stuff than I deserve(Thanks Significant Other)
User avatar
  • Posts:
  • Joined:
    Sat Jun 06, 2015 3:41 pm
  • Location:
    Norway, in a shipyard

Thanks Rick!
I like to think that we Norwegians aren't so bad at English!
GreinTime
  • Posts:
  • Joined:
    Fri Nov 01, 2013 11:20 am
  • Location:
    Pittsburgh, PA

Kentweld wrote:Thanks Rick!
I like to think that we Norwegians aren't so bad at English!
I think the biggest issue is that Americans as a whole have terrible command of the English language, so we are not always the best example to follow. These guys are all pretty good with a few exceptions, but Americans would never be my first choice to learn the finer points of English from.

The project looks awesome, anyways! (Like Rick said, you're better off than a lot of the general populace over this way as far as English goes)
#oneleggedproblems
-=Sam=-
User avatar
  • Posts:
  • Joined:
    Sat Jun 06, 2015 3:41 pm
  • Location:
    Norway, in a shipyard

Thank you Sam!

I know that we Norwegians often translate our sentences directly to English, like the saying "it's not only only, but but".. This means like " it's not so easy, but whatever".. You can watch Petter Solberg on youtube, a norwegian rally driver with some hilarious sentences! Altough, it might be funnier if you know our language:)
GreinTime
  • Posts:
  • Joined:
    Fri Nov 01, 2013 11:20 am
  • Location:
    Pittsburgh, PA

I have seen videos of him, and he is indeed hilarious lol
#oneleggedproblems
-=Sam=-
User avatar
  • Posts:
  • Joined:
    Sat Jun 06, 2015 3:41 pm
  • Location:
    Norway, in a shipyard

Here is the rest of the project! Explanations attached to the pictures
The fit up, we used the tractors since the ground is really uneven. But it was still hard to get a good fitup
IMG_0346.JPG (78.17 KiB) Viewed 1670 times
There is some gaps here and there, but nothing a good technique can't handle
IMG_0348.JPG (198.95 KiB) Viewed 1670 times
I did a post "Critical Weld" about this one.. It all went good! First bead i had to do a "Whip and pause" tech, because of the gap. Afterwards i filled up with two beads. Solid result
IMG_0353.JPG (222.92 KiB) Viewed 1670 times
Just did 1 run on the railing. Was a good gap so got little weld some spots, but two runs would make the railing "Unsmoothe", so there's that
IMG_0351.JPG (194.78 KiB) Viewed 1670 times
Wheels, just a roundbar of nylon plastic attached between two flatbars grinded to fit in a track.
IMG_0352.JPG (58.36 KiB) Viewed 1670 times
Easiest way to do it, without damaging the painting.
IMG_0358.JPG (141.2 KiB) Viewed 1670 times
On it's place. Attached to the concrete with a 28mm bolt.
IMG_0413.JPG (182.3 KiB) Viewed 1670 times
IMG_0425.JPG
IMG_0425.JPG (77.9 KiB) Viewed 1670 times
As you can see, the whole pier is to be moved further away from shore
fråsida.JPG
fråsida.JPG (83.4 KiB) Viewed 1670 times
This is why we had T bars on the side of the pier. Now we can adjust the "spacers", since we dont know how big the boats will be (Renting it out)
IMG_0408.JPG (170.92 KiB) Viewed 1670 times
Last edited by Kentweld on Wed Jul 01, 2015 6:59 pm, edited 1 time in total.
User avatar
  • Posts:
  • Joined:
    Sat Jun 06, 2015 3:41 pm
  • Location:
    Norway, in a shipyard

I cant say i'm so impressed by the welds on the pier, made by a professional company.. Note that this is not the situation on all the welds. And i'm not saying mine are the best around either, but it's just things i notice since i'm interested in welding. Dont you agree?!
No comment here. . .
jalla.JPG (129.23 KiB) Viewed 1670 times
meeh
meeh
jalla2.JPG (163.03 KiB) Viewed 1670 times
Feel free to comment anything!

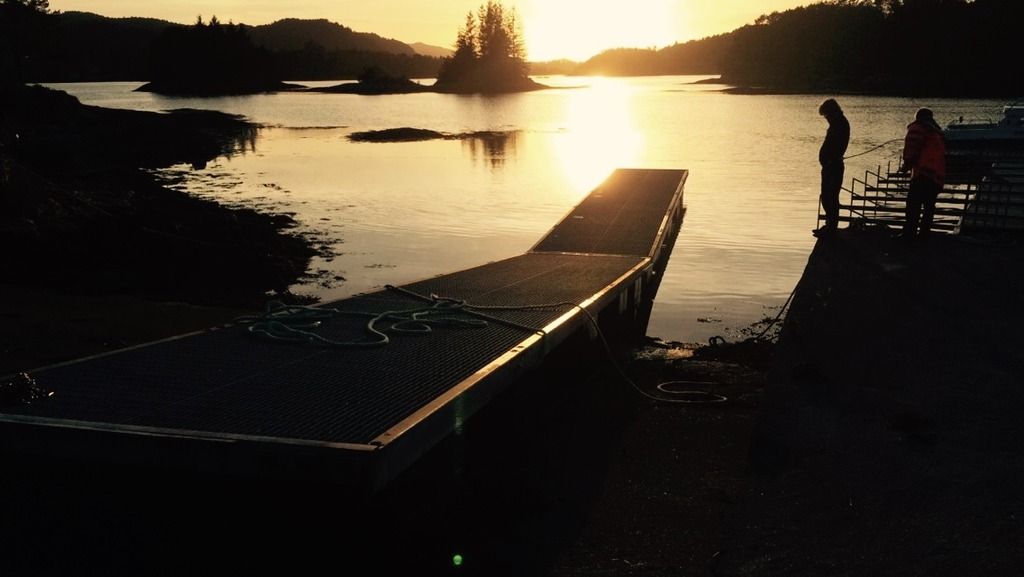
Here's a final picture, since it was such a beautiful weather today. That's rare here in West Norway..

IMG_0421.JPG
IMG_0421.JPG (17.78 KiB) Viewed 1670 times
Post Reply