making a cheap pseudo-gas lens using std parts
Posted: Mon Jun 09, 2014 9:38 pm
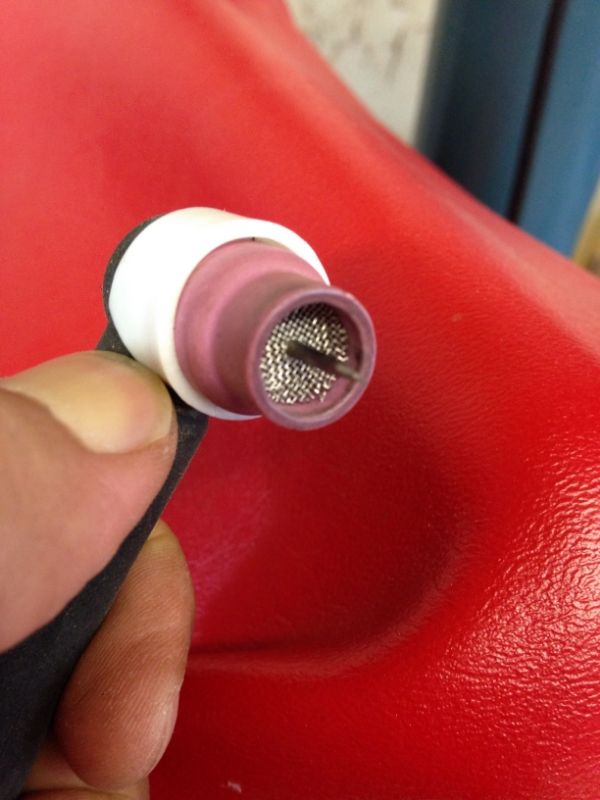
A friend of mine and I were talking tig welding and he mentioned that if only there was a #10 cup that would work with a non-large gas-lens collet body, but rather standard #9/20 parts including teflon gasket insulator. Well, I had done this previously with my 24-series water cooled torch: I added stainless steel mesh screens inside the #6 alumina cup to make a sort-of gas lens, like so:
Mesh screens on 24 torch
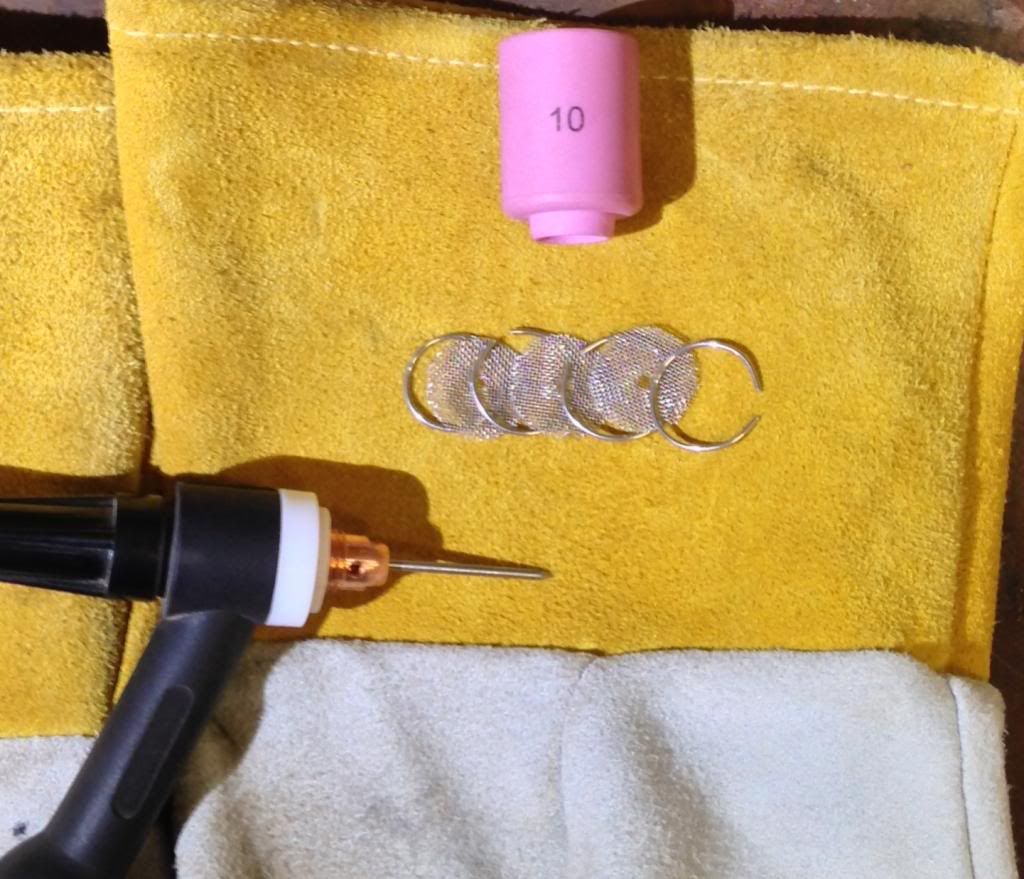
So what I did was punch out some SS mesh screen into 5/8" diameter circles (three of them), and formed (4) rings from some 0.035" 316L tig rod I had laying around. This way, the 3 screens would be firmly sandwiched by the SS rings in this order: Ring-Mesh-Ring-Mesh-Ring-Mesh-Ring.
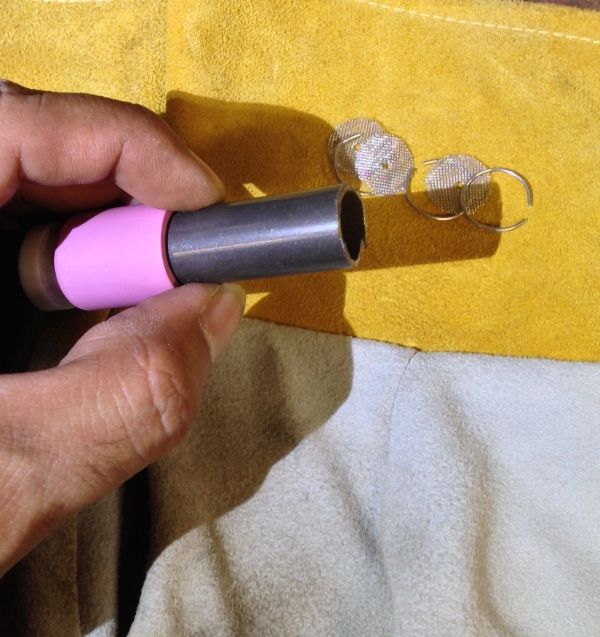
I used a short piece of tubing I had laying around to push the rings and mesh all the way down, right before the tip of the collet body.
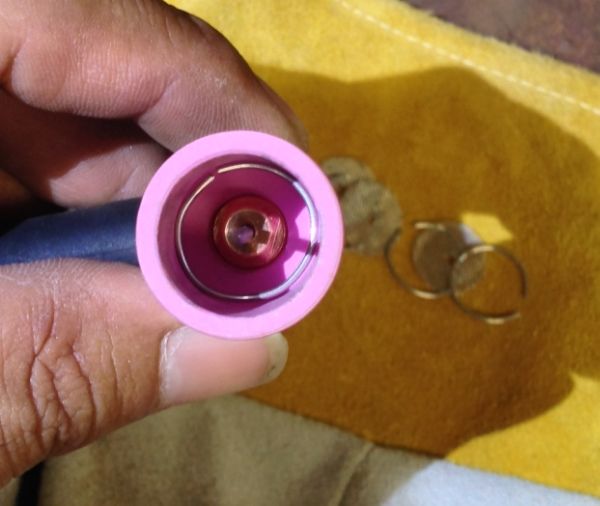
Here is the first inserted ring into the cup. The ring stays in place due to it being opened up larger than the hole size, so when squeezed in, it's own outward tension holds it in place.
Mesh screen going in. The hole has to be custom made for whatever tungsten is to be used, which in my case was a 1/16" tungsten.
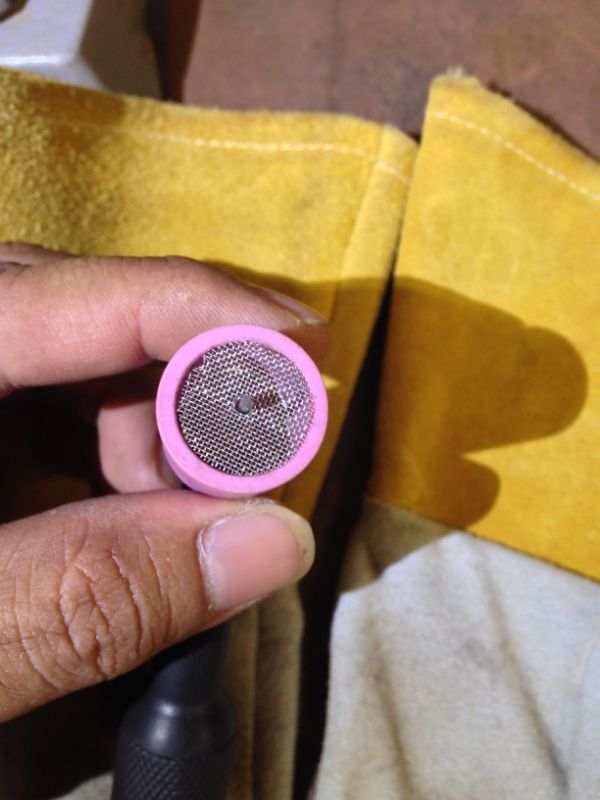
First screen pushed down to meet the first support ring
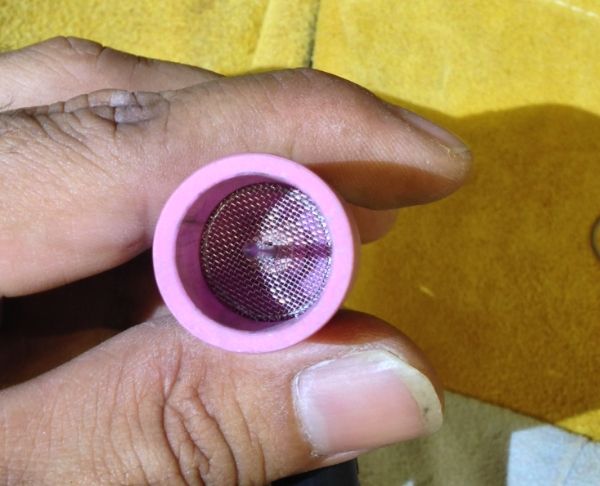
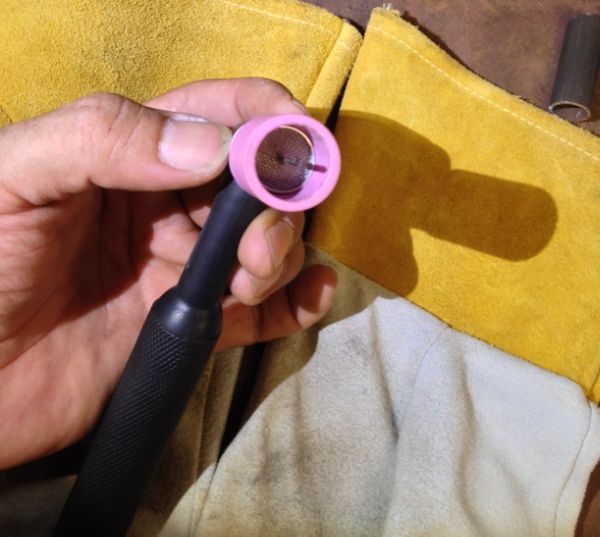
Continue the order, and voila, a nice compact gas lens that works with standard 9/20 consumables. Costs pennies to make. Typing out this post took longer than it took me to make that pseudo-gas lens. :laugh:
Notes:
Thanks for reading.
Mesh screens on 24 torch

So what I did was punch out some SS mesh screen into 5/8" diameter circles (three of them), and formed (4) rings from some 0.035" 316L tig rod I had laying around. This way, the 3 screens would be firmly sandwiched by the SS rings in this order: Ring-Mesh-Ring-Mesh-Ring-Mesh-Ring.

I used a short piece of tubing I had laying around to push the rings and mesh all the way down, right before the tip of the collet body.

Here is the first inserted ring into the cup. The ring stays in place due to it being opened up larger than the hole size, so when squeezed in, it's own outward tension holds it in place.

Mesh screen going in. The hole has to be custom made for whatever tungsten is to be used, which in my case was a 1/16" tungsten.

First screen pushed down to meet the first support ring

Continue the order, and voila, a nice compact gas lens that works with standard 9/20 consumables. Costs pennies to make. Typing out this post took longer than it took me to make that pseudo-gas lens. :laugh:

Notes:
- I am not saying you should do this.
- Nor am I saying that this is in any way better than any other setup.
- This is just something that I did for a friend and myself, that I wanted to document and display, nothing more, nothing less.
Thanks for reading.