Tig welding tips, questions, equipment, applications, instructions, techniques, tig welding machines, troubleshooting tig welding process
wquiles
  • Posts:
  • Joined:
    Wed Sep 25, 2013 6:00 am

Started thinking/planning about it when my crappy 2x72 cobbled up grinder motor died in early Jan 2021, and I started actual welding in March 2021. I still have to weld the work surface to the work arm this coming weekend, and re-do the belt covers (I burned through the thin metal!), but it is actually running now: Baldor Industrial 3PH, 3HP motor with an VPF :D

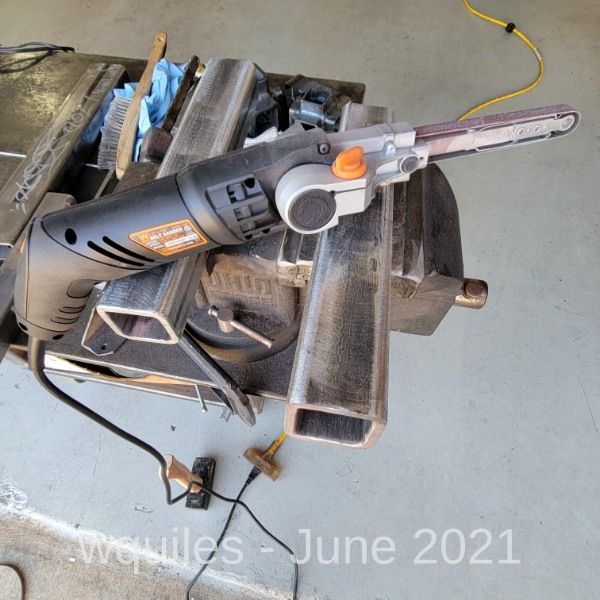
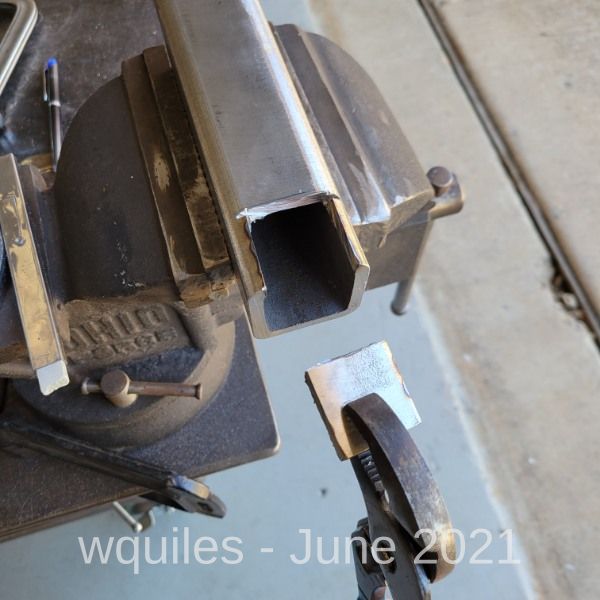
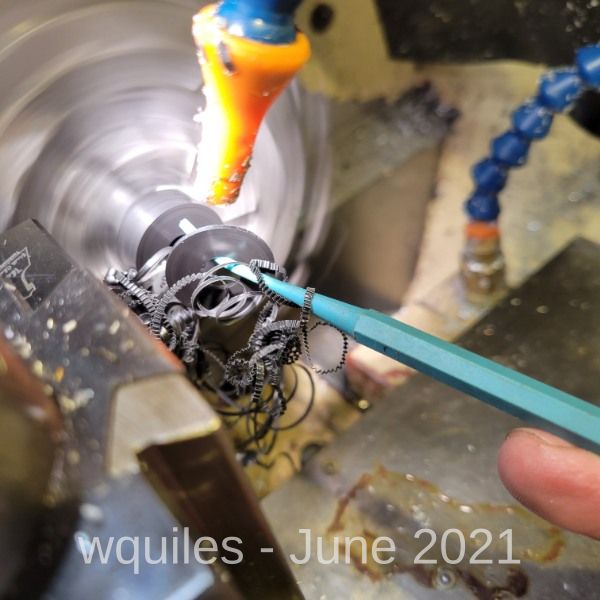
Started by removing the inside weld seam in a couple of square tubing pieces:
Image

Image


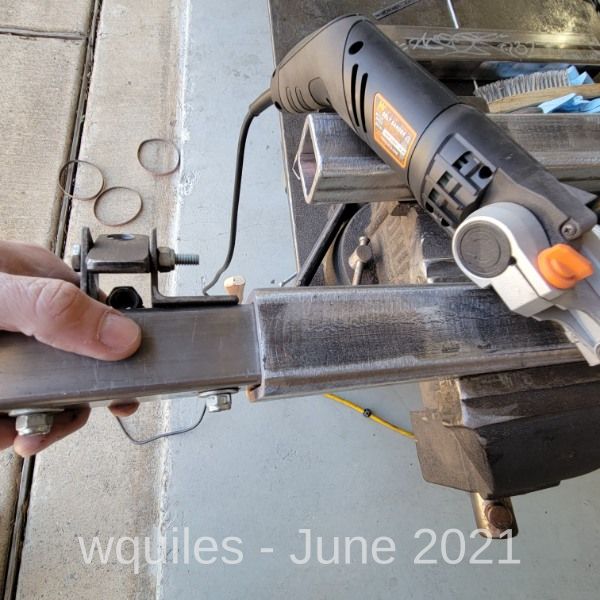
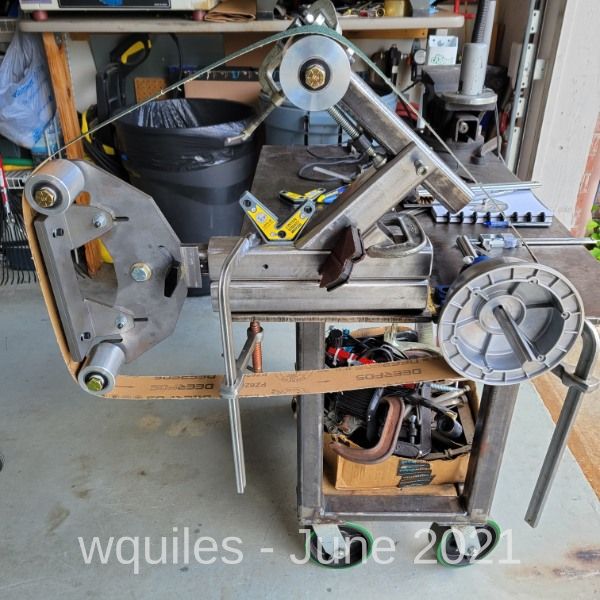
Although I did make most everything from scratch, I did buy the "C" bracket assembly from Origin Blade Maker. Since it is my own design, I have no plans - I adjusted as I went along. Here I am clamping everything to get an idea of spacing, length, etc..
Image


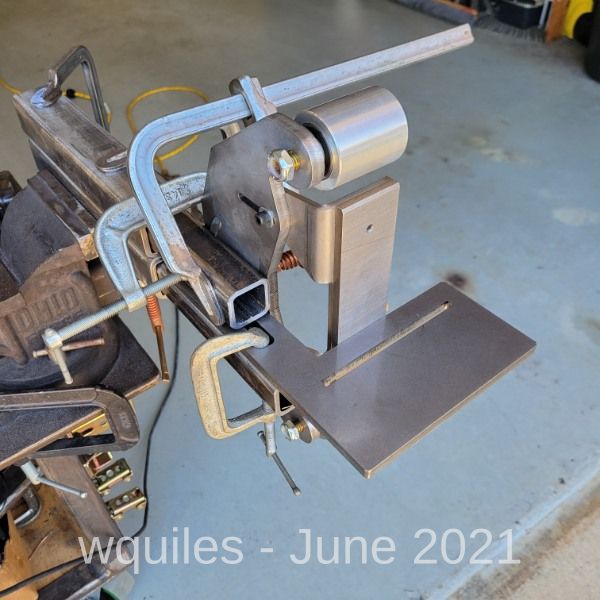
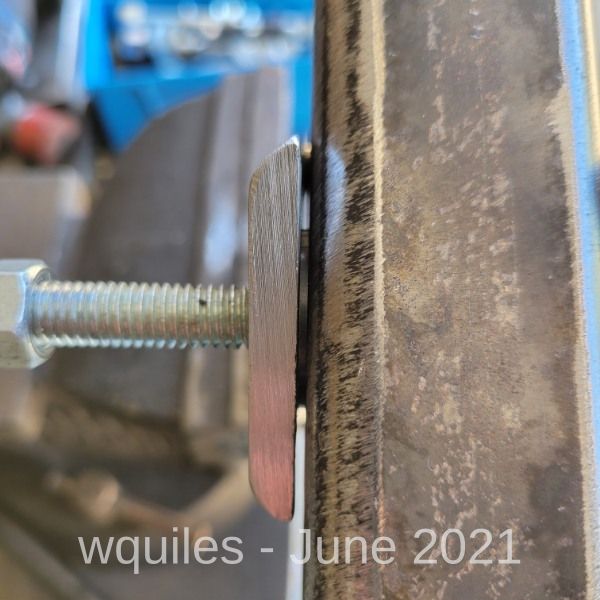
Cut and milled the top arm, and even made some delrin spacers for a slight press fit:
Image

Image

Image


This is the mockup (clamped in early April) - nothing welded yet:
Image


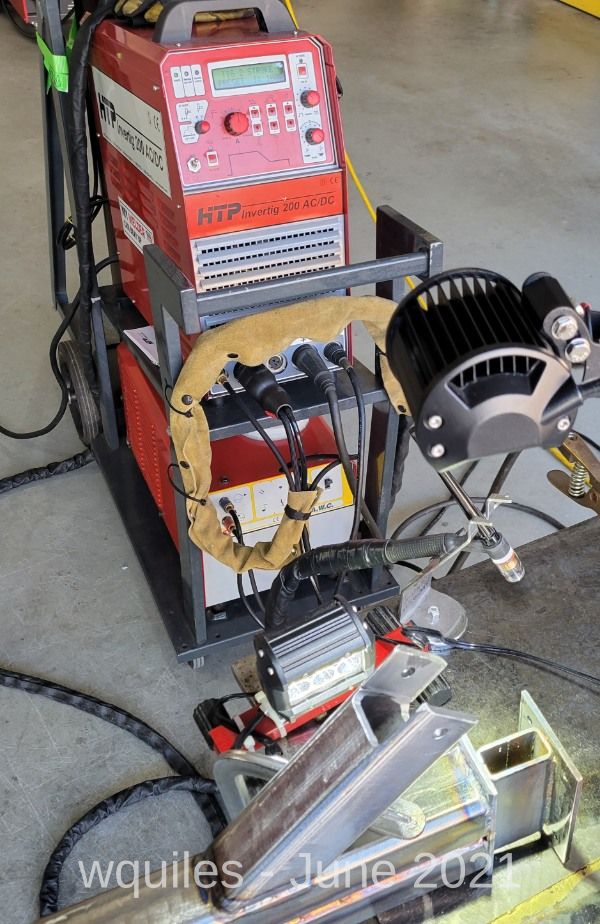
Once I figured the spacing to get all wheels aligned, I started welding - 100% with my new to me HTP 201 water-cooled Tig Machine:
Image
Last edited by wquiles on Wed Jun 16, 2021 8:25 pm, edited 1 time in total.
wquiles
  • Posts:
  • Joined:
    Wed Sep 25, 2013 6:00 am

Image

Image


Welded a spacer for the rear to hold the two pillow bearings:
Image

Image


Instead of on the side, I wanted a handle at the end, so I capped the movable arm:
Image

Image


Note the adjustable/trim piece for the top wheel I also got that assembly from Origin Blade Maker:
Image
wquiles
  • Posts:
  • Joined:
    Wed Sep 25, 2013 6:00 am

Late April, main body welded - another mockup with clamps:
Image

How I tested various springs:
Image


Fitting the drive wheel:
Image

Image

Image


Custom delrin to get spacing perfect against the bearing:
Image


For the base, I used a scrap piece of about 1/2" I found while doing cleanup with my son's Boy Scout camp in a local creek:
Image


Took a lot of sanding to get the bulk of the rust:
Image


And then vinegar (works great to remove mill scale!):
Image
wquiles
  • Posts:
  • Joined:
    Wed Sep 25, 2013 6:00 am

Welding the main frame to the base - all of this square tubing is 1/4" wall:
Image

Image

Image


Occasionally I got a decent looking Tig weld:
Image


Then started working on the stand (1/8" wall)
Image

Image

Image

Image
wquiles
  • Posts:
  • Joined:
    Wed Sep 25, 2013 6:00 am

Getting closer:
Image


To being able to do small adjustments on the spring for the top arm, I made up and welded this small piece:
Image

Image


I was initially going to make a movable arm for the VFD from scratch, but found a $20 brand new arm - hard to pass up:
Image


Made and welded a simple bracket to hold the VFD:
Image

Image
wquiles
  • Posts:
  • Joined:
    Wed Sep 25, 2013 6:00 am

Image


One side:
Image


other:
Image


Then wire motor and VFD:
Image

Image

Image
wquiles
  • Posts:
  • Joined:
    Wed Sep 25, 2013 6:00 am

Still need to weld this piece:
Image


But here is the running grinder/stand:
Image


Image


Image


My first Tig project. About 4 months, done a little bit every weekend :D
tweake
  • Posts:
  • Joined:
    Mon Dec 18, 2017 4:53 am
  • Location:
    New Zealand

nicely done 8-) :D
tweak it until it breaks
wquiles
  • Posts:
  • Joined:
    Wed Sep 25, 2013 6:00 am

Thanks - it was fun and great practice.
BugHunter
  • Posts:
  • Joined:
    Sun Apr 19, 2020 12:54 pm

Very cool build. Probably take a decade of my spare time but does look like fun.
Post Reply