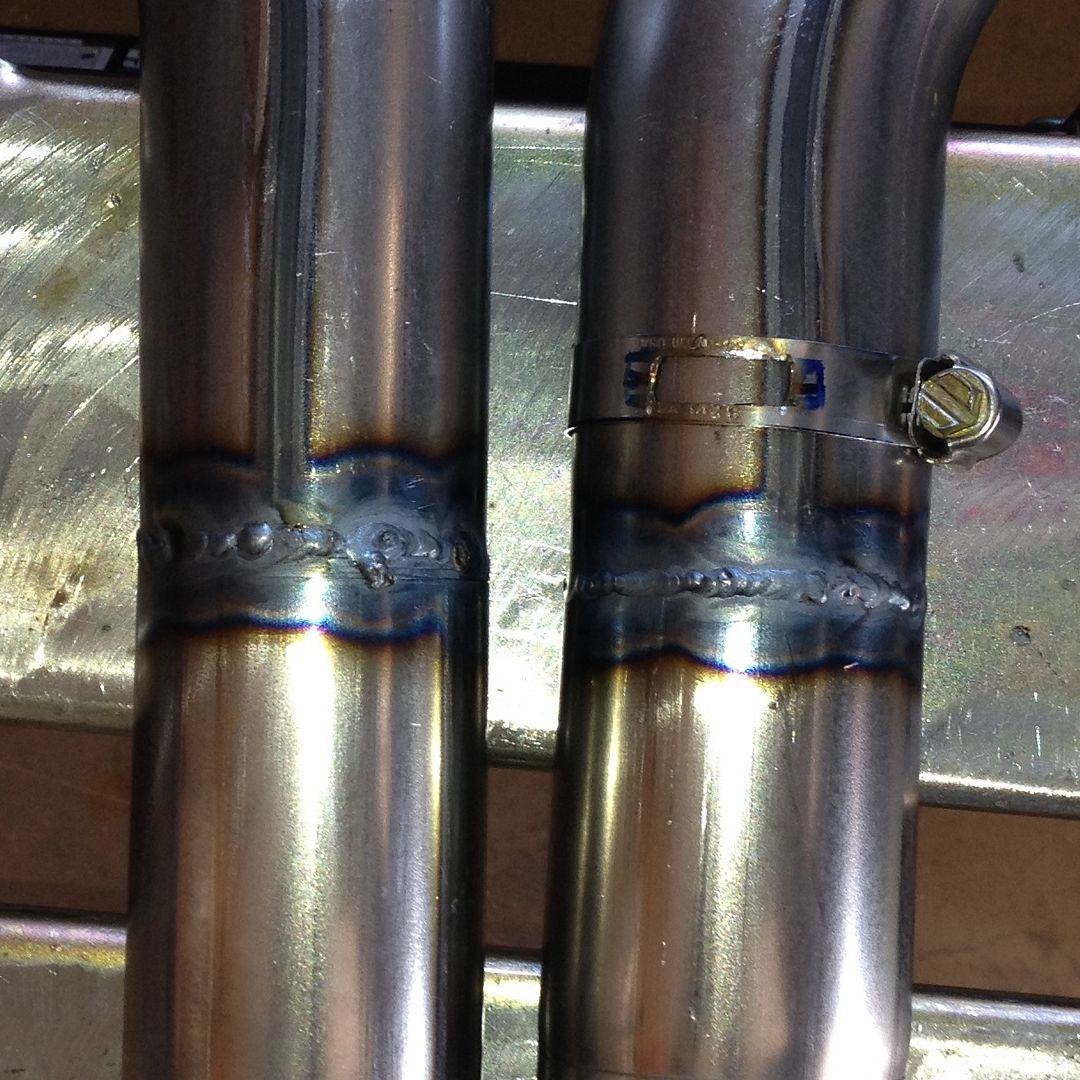
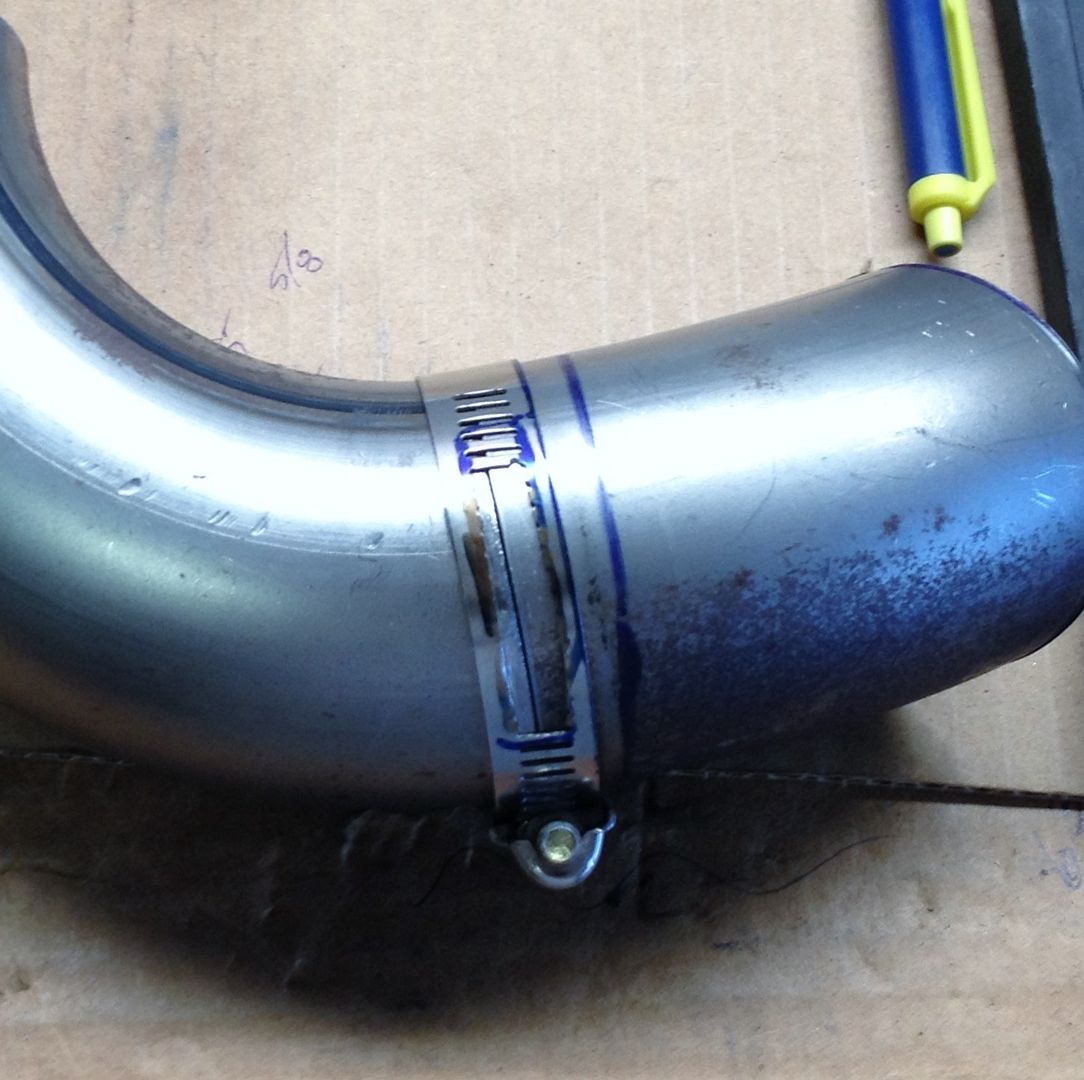
I've started practicing tig welding 18 ga tubing a couple of days ago. I haven't had much luck until this morning. The first photo is of one of the clamps I made to hold tubes together. These work great except I have to work on not accidently welding the clamp to the tube when tacking.
The next photo are the two tubes I did this morning. The fitment on the right tube was much better than the left. The bump on the left is where I tacked the clamp to the tube accidently.
I'm using 1/8 tungsten and a No 7 cup. I'm having trouble seeing the arc as the cup blocks my view. I'm wondering if a No 8 cup might help that.
I use a tubing cutter to cut the tube as it appears I can get tighter joints that way. my plan is to just cut out the welds and continue to weld the pieces back together to get "seat time".
Tig welding tips, questions, equipment, applications, instructions, techniques, tig welding machines, troubleshooting tig welding process
Interesting clamping idea and it works for you. if you have 6" or so of 2" angle and tacked on the ends to a piece of flat bar vee up this makes a quick easy alignment cradle for tacking tube butts. You can notch it in the middle to allow tacks to turn through without causing misalignment.
When you first start welding round tube its like a whole new world. Everything you learned on the flat seems not to work and your welds look like snot. Be patient, seat time fixes this. The important thing is to maintain a tight arc length, constant torch angle 80 to 85 degrees and keeping tour wire flat as you go around the joint.
If you try a gas lense generally you can lengthen the stick out which improves visibility.
Flat out like a lizard drinkin'
- MosquitoMoto
-
Weldmonger
-
Posts:
-
Joined:Sat Aug 01, 2015 8:38 am
-
Location:The Land Down Under
Keep at it!
Pipe/tube is a special challenge, especially small diameter stuff. My welds improved out of sight when I replaced my clumsy size 26 torch with a more nimble size 9.
Kym
Pipe/tube is a special challenge, especially small diameter stuff. My welds improved out of sight when I replaced my clumsy size 26 torch with a more nimble size 9.
Kym
Nimble 9 is nice but if your intention is to weld heavy wall pipe or aluminium you're going to need a 26 torch and you might as well get used to it now while you're learning. Horses for courses.
Flat out like a lizard drinkin'
Boyracer
- Boyracer
-
New Member
-
Posts:
-
Joined:Sat Jul 18, 2015 4:46 pm
-
Location:Auburndale, Florida
- MosquitoMoto
-
Weldmonger
-
Posts:
-
Joined:Sat Aug 01, 2015 8:38 am
-
Location:The Land Down Under
Coldman wrote:Nimble 9 is nice but if your intention is to weld heavy wall pipe or aluminium you're going to need a 26 torch and you might as well get used to it now while you're learning. Horses for courses.
Very good point, Mister Cold - you'd probably fry a #9 pretty quickly on heavy pipe.
Kym
Yup exactly that. I started out on tubing and should have practiced a bit more. It's never too late, since I'm doing a lot of practice followed by then cutting out the welded section and butt'ing them up again to go at it.Boyracer wrote:I mis-spoke on the tungsten size. I'm using 1/16" and a 17 torch. The welder is a Lincoln Square Wave 175.
It seems like I'm putting a lot of heat into the joint. Am I not moving fast enough?
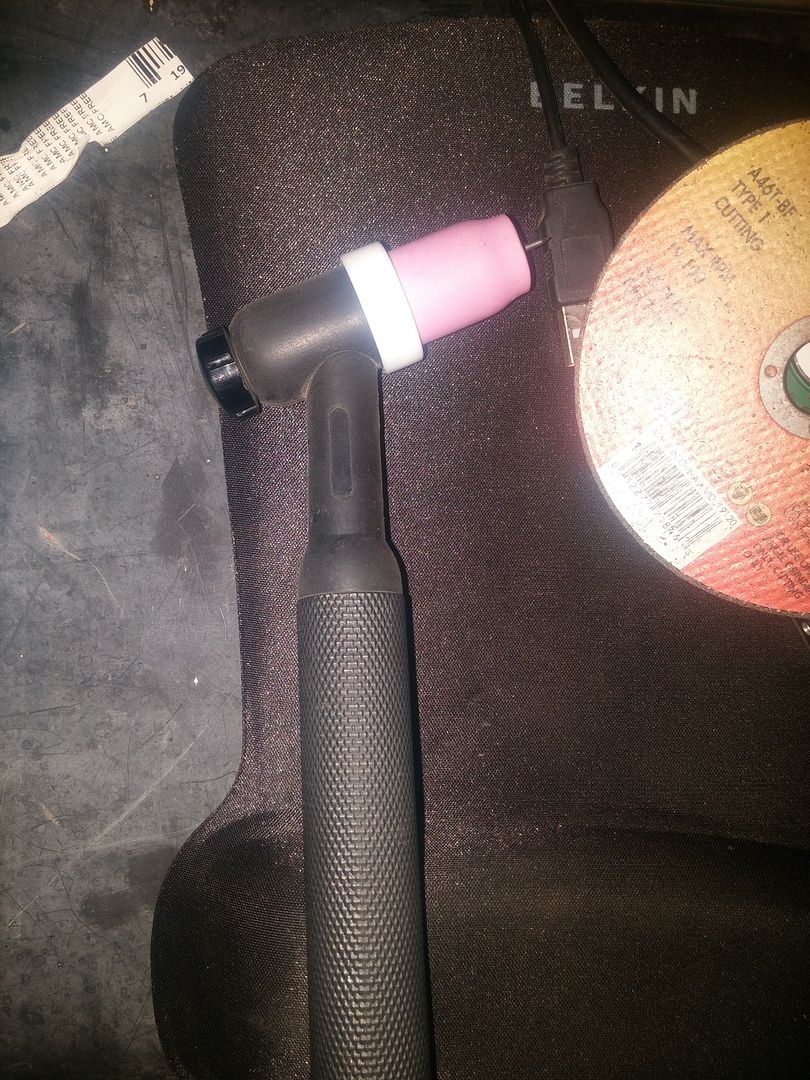
A 1/16" tungsten is perfect. Grind the tip around 3/16" long (3x the diameter) and just barely knock-off the needle-tip if you're left with one. Order a #8 stubby gas lens from HTP, they have it for about $20. You can extend the tungsten a little bit further and you need all the coverage you can get with tubing with such a small curvature----argon dissipates MUCH quicker on small tubing than any other surface besides an outside corner joint.
This is a WP17 with a stubby gas lens, #8 cup, and short back cap
One thing that plagued me, is arc length consistency. You need to hold a tight arc (< 1/16") and you need to maintain it the whole way throughout. Otherwise, all the tiny up-down variations in your hand are directly translated into the arc length, and an increasing arc length = excess voltage = more heat dumped into the part. Also, you need to be using 0.045" diameter filler or even 0.035". Lose the 1/16" filler rod if that's what you're using. You need more amperage to melt the filler than the base metal using 1/16" filler rod, which in turn will cause even more overheating.
Moving fast will only help you if you can nail down the correct torch angle. Try a dry "fast run", but stop yourself right in the middle of it, and freeze your torch hand. Take a "step back" and look at the angle, honestly. Is it where it needs to be? Hopefully so, but if not, you need to go back to square-1 and really dial in your concentration.
Not sure what position your using or if your turning it every little bit, but a tig finger would help you prop and move around with the pipe. Arc length is huge and the only way I was able to get out of position pipe to look good was a tig finger so I could prop on the pipe. Other than that I see it looks inconsistent. That will come with time. Try to keep everything going g at a steady pace.
Country isn't country unless it's classic.
Boyracer
- Boyracer
-
New Member
-
Posts:
-
Joined:Sat Jul 18, 2015 4:46 pm
-
Location:Auburndale, Florida
I only use the hose clamps to tack with. Then I remove them. The tack puddle moves out real fast and I was surprised how quick that happened and how quickly it got to the clamp.
I am seeing some improvement in my welds. I can see the back side of the welds I'm doing and there is some sagging. As pointed out I'm getting too much heat in there. I've set the machine at 60 amps or so. Should I reduce that at the machine or the foot pedal? The material is only .049 thick so it can't take too much heat to melt it.
I have some of the .035 rod and I'll try that this morning.
I'll post more pics on this later..
Boyracer
- Boyracer
-
New Member
-
Posts:
-
Joined:Sat Jul 18, 2015 4:46 pm
-
Location:Auburndale, Florida
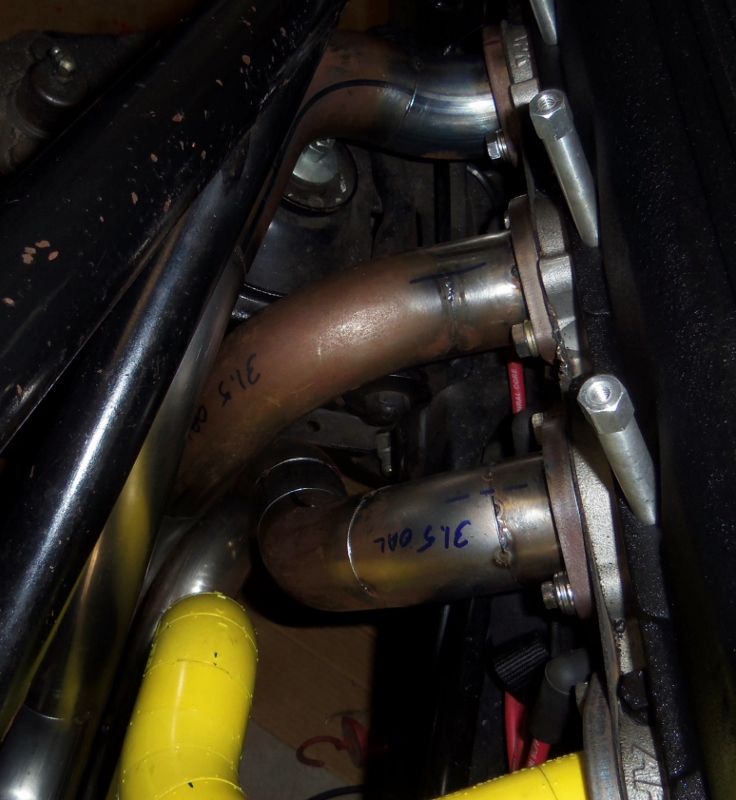
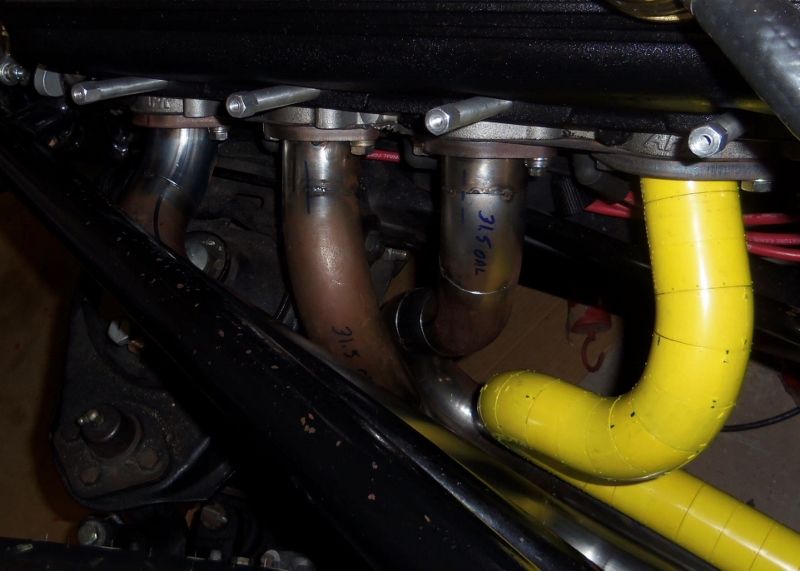
Haven't posted for a while. But, I've been working on this header project and about halfway done. I did the first pipe three times before I got it positioned correctly. Things are moving along now. My fit ups have improved a lot and as a result my tack welds are better (smaller and less heat). I'm not accidently welding my clamps to the pipe either.
As has been said, seat time helps. I'm not sharpening tungsten as often and feel more comfortable with what I'm doing.
Boyracer
- Boyracer
-
New Member
-
Posts:
-
Joined:Sat Jul 18, 2015 4:46 pm
-
Location:Auburndale, Florida
Pics.
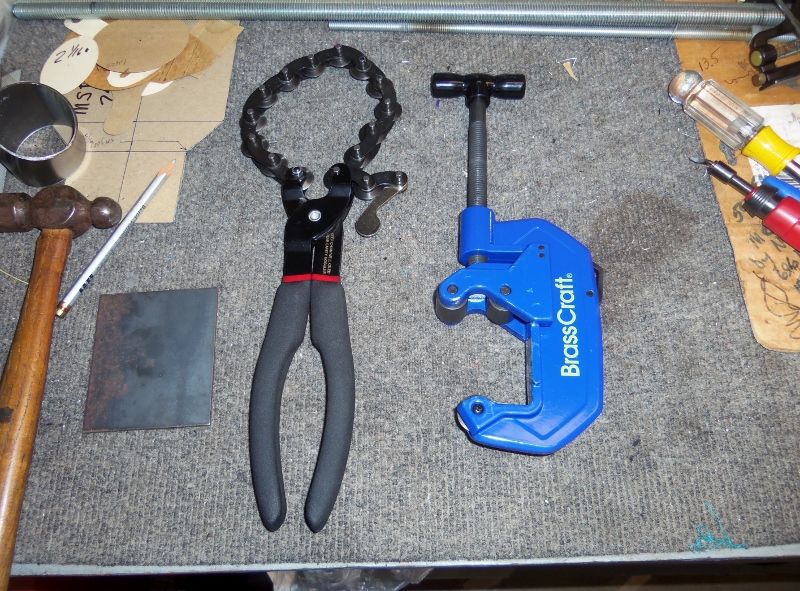
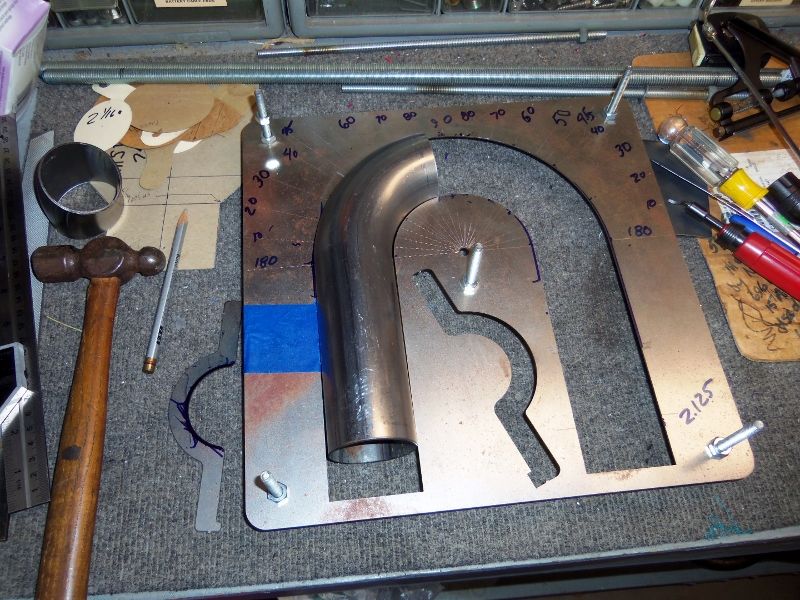
How I cut the tubes for a tight fit up.
Protractor from Cone Engineering
Tacks
Tubes mocked up
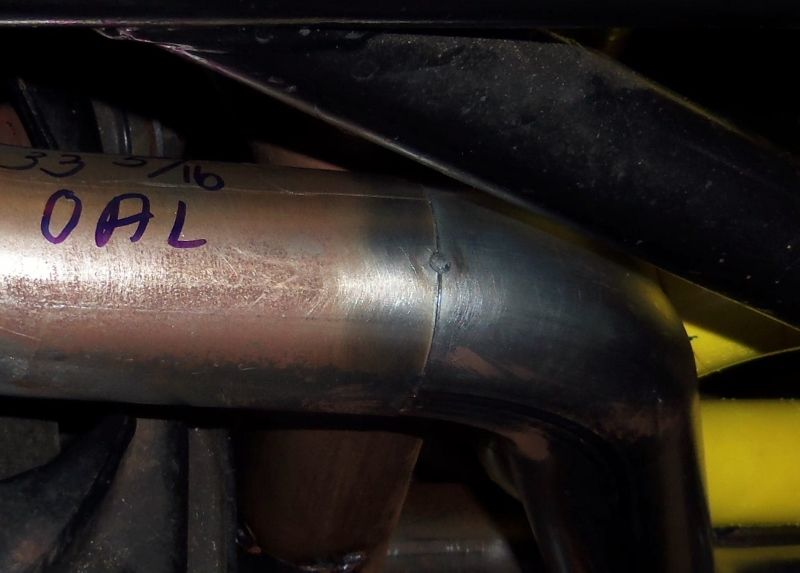
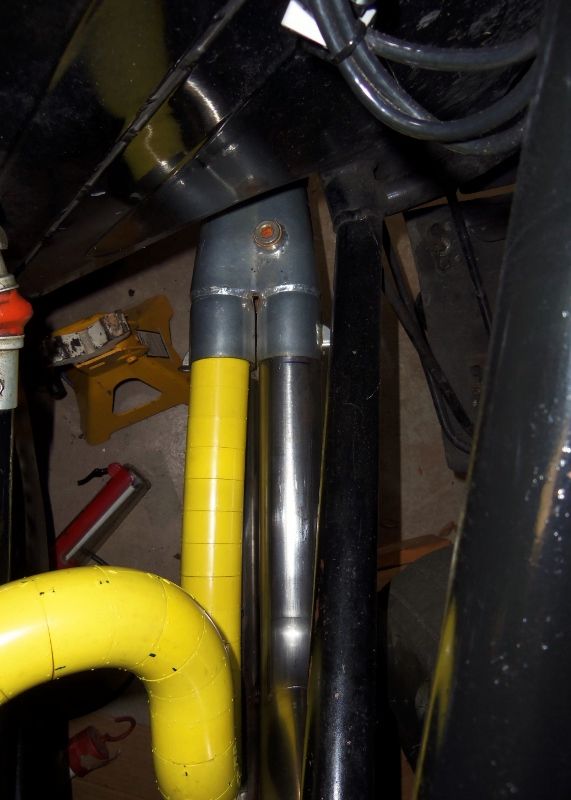
The collector had to be in that exact spot. I've got about 6 inches to work with in that area as the brake pedal linkage is in the way. It took three tries to get that right.
When I get this last tube tacked up I'll take photos of them ready to be welded.
Return to “Tig Welding - Tig Welding Aluminum - Tig Welding Techniques - Aluminum Tig Welding”
Jump to
- Introductions & How to Use the Forum
- ↳ Welcome!
- ↳ Member Introductions
- ↳ How to Use the Forum
- ↳ Moderator Applications
- Welding Discussion
- ↳ Metal Cutting
- ↳ Tig Welding - Tig Welding Aluminum - Tig Welding Techniques - Aluminum Tig Welding
- ↳ Mig and Flux Core - gas metal arc welding & flux cored arc welding
- ↳ Stick Welding/Arc Welding - Shielded Metal Arc Welding
- ↳ Welding Forum General Shop Talk
- ↳ Welding Certification - Stick/Arc Welding, Tig Welding, Mig Welding Certification tests - Welding Tests of all kinds
- ↳ Welding Projects - Welding project Ideas - Welding project plans
- ↳ Product Reviews
- ↳ Fuel Gas Heating
- Welding Tips & Tricks
- ↳ Video Discussion
- ↳ Wish List
- Announcements & Feedback
- ↳ Forum News
- ↳ Suggestions, Feedback and Support
- Welding Marketplace
- ↳ Welding Jobs - Industrial Welding Jobs - Pipe Welding Jobs - Tig Welding Jobs
- ↳ Classifieds - Buy, Sell, Trade Used Welding Equipment
- Welding Resources
- ↳ Tradeshows, Seminars and Events
- ↳ The Welding Library
- ↳ Education Opportunities