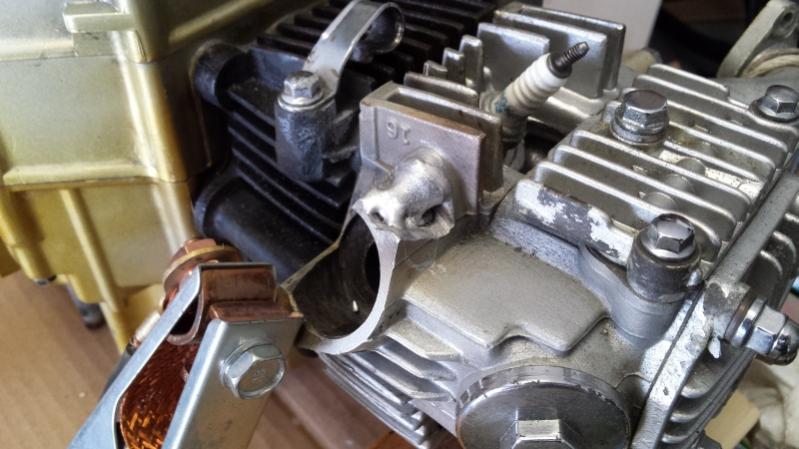
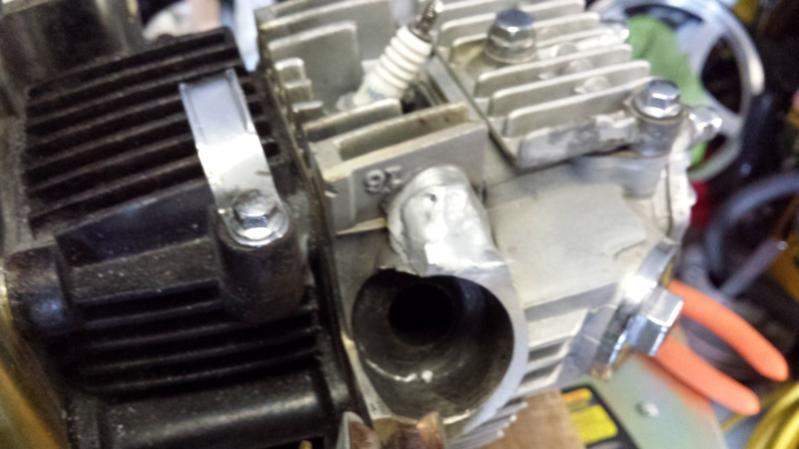
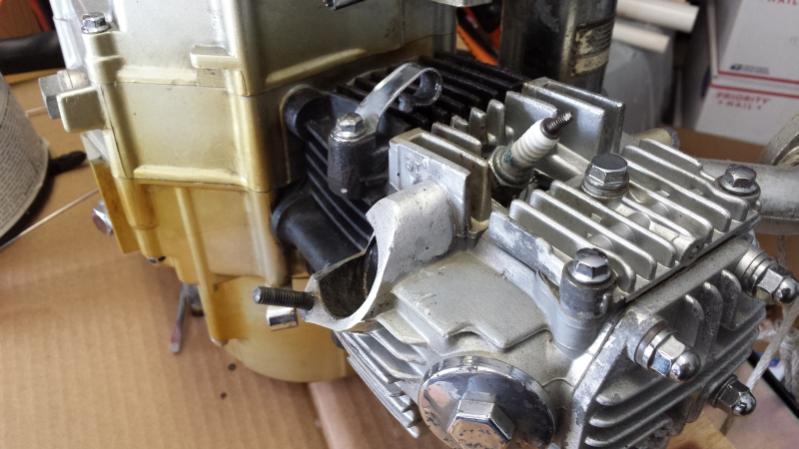
Thanks for all of the great advice. Here is my progression of welding. Actually taking pictures helped me pace the welding so I wouldn't rush it.

So a little rough at first but I turned up the cleaning (AC set to 75%) and got enough heat in it to make it flow

I ground down the material I added a little to get rid of the crap that formed like a skin over the top. It was pretty hard, much harder than the material just under the skin.

Another layer and a another session of grinding.

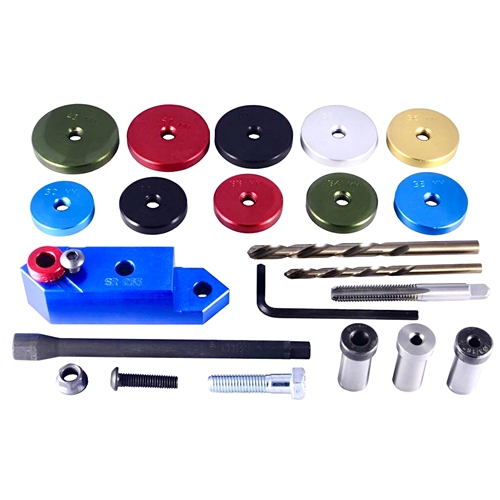
Here's the almost finished product. I spent a little more time with a detail sander after this and it looked pretty good. I just need to make a drilling rig this week and I'm ready to drill and tap it!
Lessons learned:
Take your time. I used a IR thermometer and let it heat to 260F then cool to about 200 before I started again. I figured for an air cooled motor this is pretty close to normal operating temps.
I started using the pulser on but quickly realized that it was counterproductive when a lot of heat is needed.
I also noticed that I needed a lot more pre-flow time to keep the weld clean. I ended up at around 4 seconds.
Stick out is good when your in a tight spot.
Again, thanks for all of the advice!


