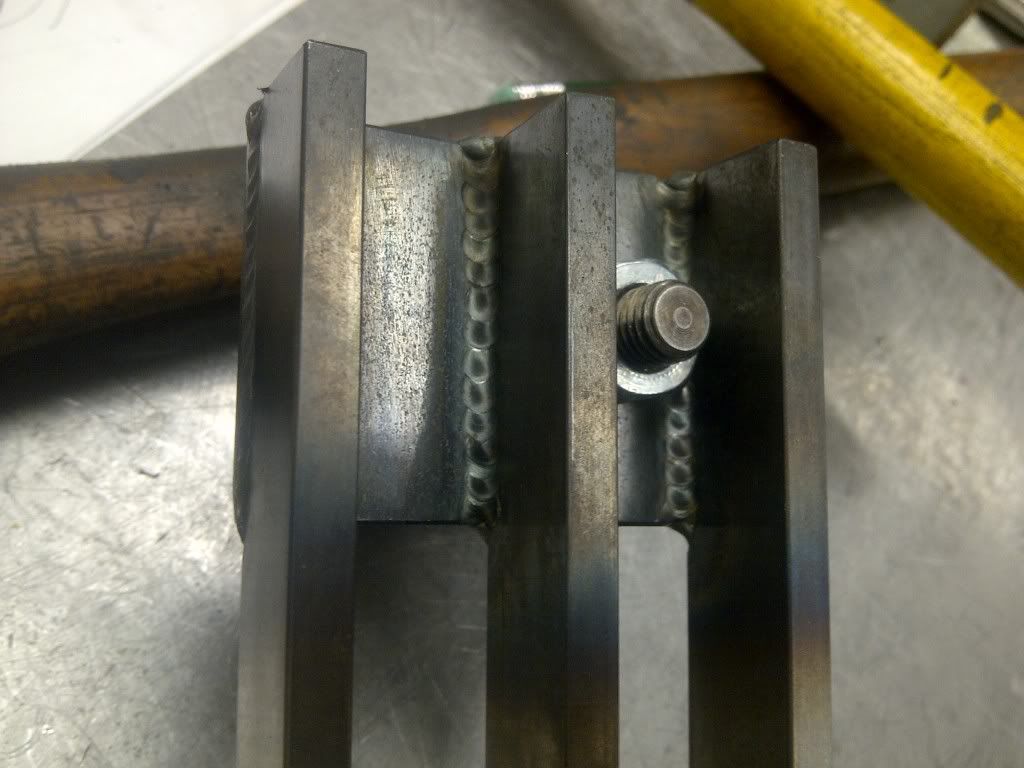
So, I had to make a bracket at work. Space was limited as you can see by the fit of the nut. I had to limit the build up but I did get good penetration. Is there wrong with spreading the dimes out like I did? I also have started pulsing the foot pedal. Are there any issues with doing so? I have no welders at work that have more skills than myself so I need to ask the experts.
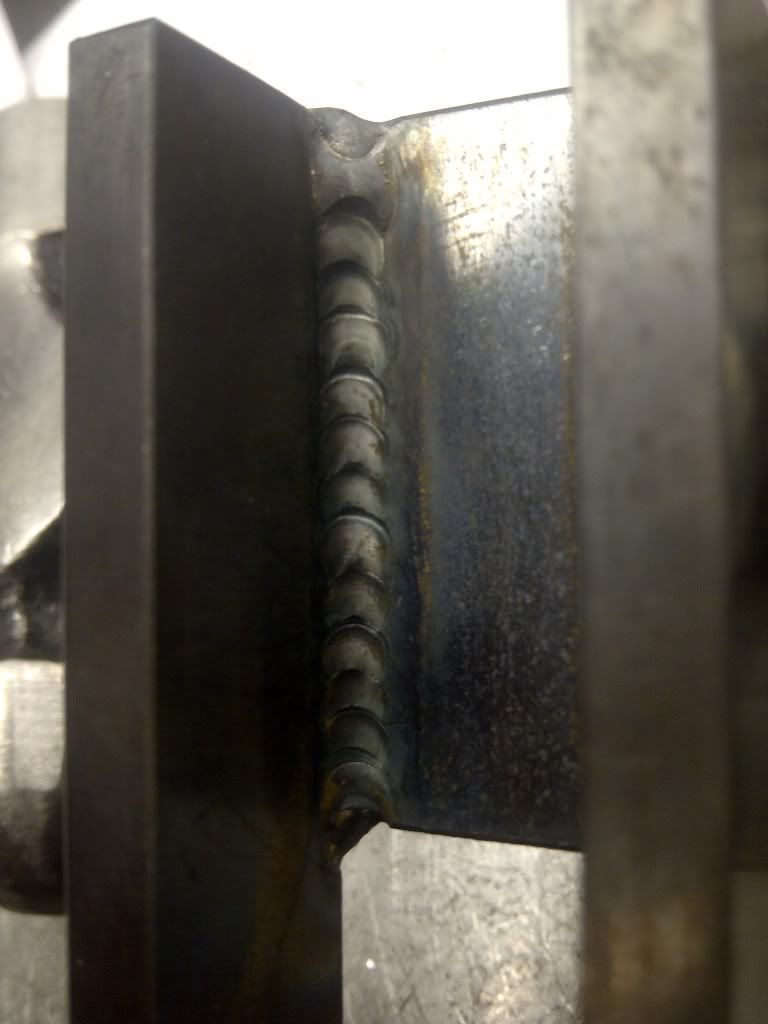
There's more to it than bead pattern and penetration. It has to do with leg and throat of weld relative to the base material and it's expected duty. When in doubt, use a fillet gauge. Those beads look concave to me, indicative of filler metal spread too thinly.
Miller ABP 330, Syncrowave 250, Dynasty 300 DX.
Honorary member of the Fraternity of Faded Tee Shirts.
Welcome to the forum. Seconding Jeff, as well as that not adding enough filler metal can cause under cutting of the base metal. If you were to use that technique on a part that was to be painted, it wouldnt look great. Also the undercut weakens the joint because the material thickness is reduced.
Let's face it - it's not good practice to undercut and have such sharp dime ridges - both are potential stress risers if the part is taking a lot of strain. However, if the part isn't critical then it certainly looks like a neat enough job. Quite good actually. And realistically, you could do 4 tacks like that and be flat out breaking it apart, so with 15 'tacks' up each fillet I don't reckon it's coming apart any time soon.
If you want to pulse, it's better if your machine has that facility, then set it on a frequency that will get your dimes closer together (say 3 pulses every 2 seconds; 1.5 Hz) and then concentrate on getting a good dab of filler into each pulse. To pulse quickly (say at 1 or 2 Hz) with the foot pedal takes quite a bit of practice and is just another thing to complicate things.
One might weld a segment of the joint with very few dimes, then the next segment with more dimes, and the next, etc. etc., until the last segment of the weld pass is almost 'dimeless' (or continuous)in appearance. A section cut through each of those segments and the preparation of a macroetch for each cut, might give us additional information concerning how the penetration, fusion, etc., and shape of the deposited metal changes in relationship to the quantity of dimes.
I agree with the above- Add more filler wire and you'd probably be ok spacing them out that much. But that doesn't look like a very strong weld as of now. But it looks good.
Thanks gents. The pics make the welds look more concave than they were. This is not my usual pattern, but I needed to limit build up. I will post some pics of "regular" welds when I get a chance. The strength of the weld is not as strong as the base material for sure in this application. The weld strength was adequate for the application. It would be nice to have a welder at work that I could learn from. I have taken courses, and laid a few beads but having input is always nice.